Plantwatery: solar ESP32 automatic plant watering
A solar-powered, 3D-printed ESP32 watering system that checks soil moisture twice a day and pumps water as needed.
Photos
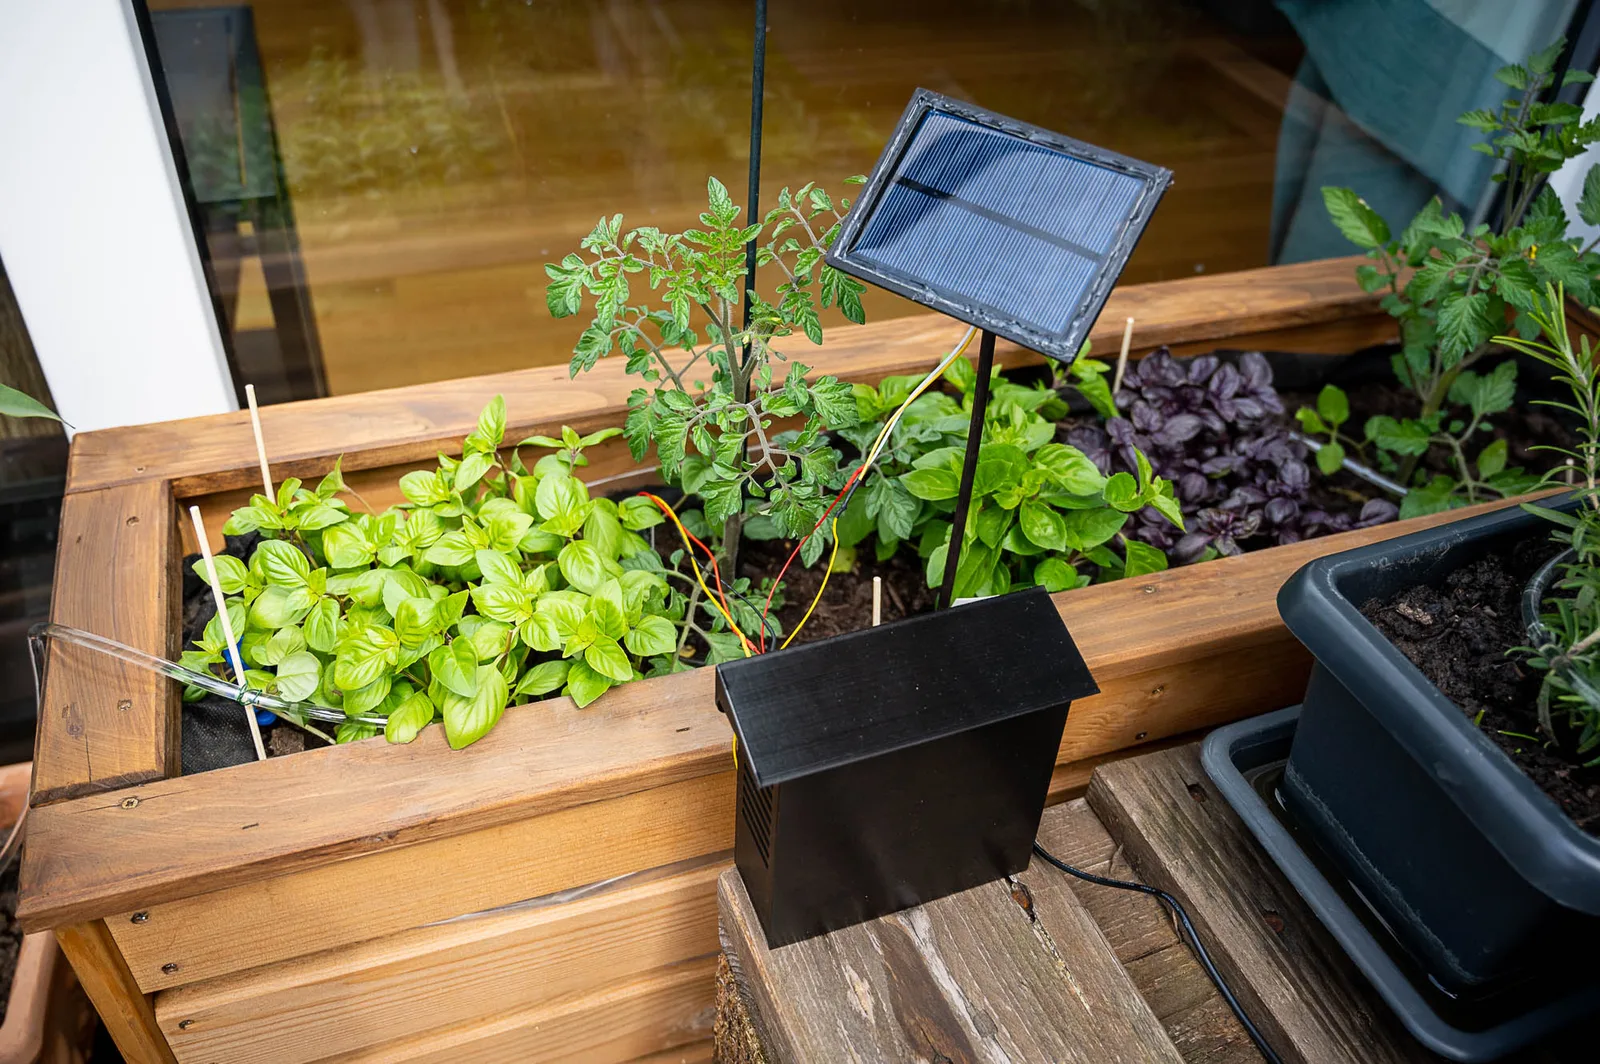
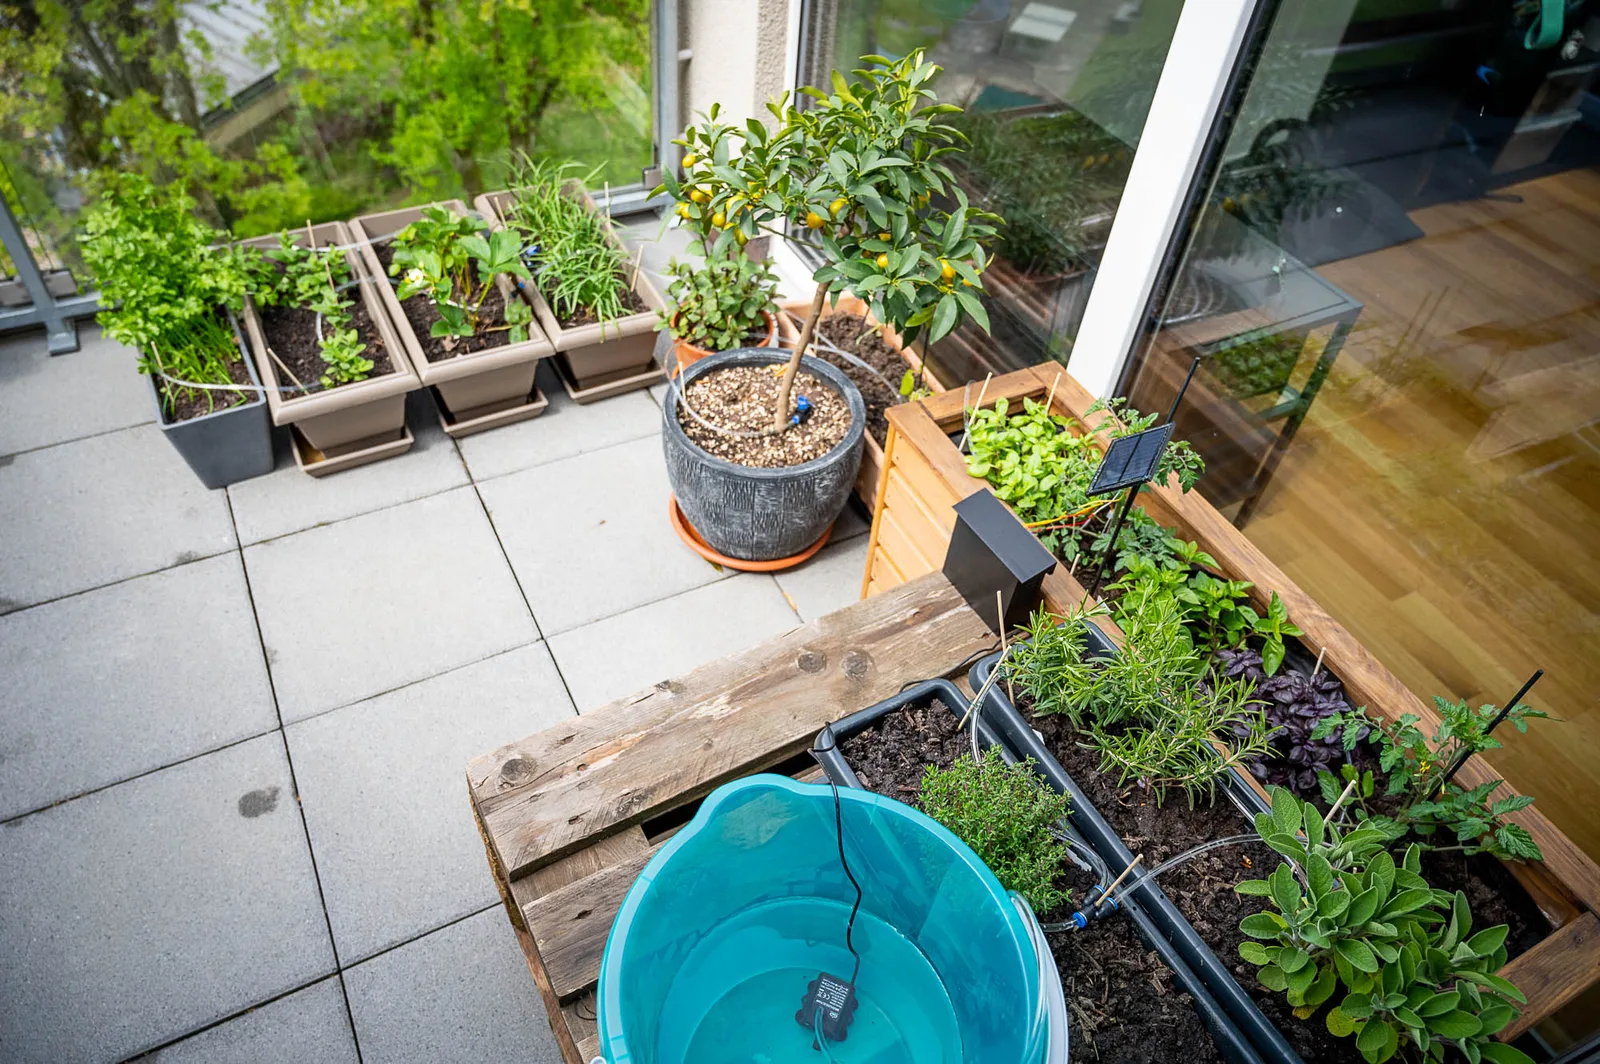
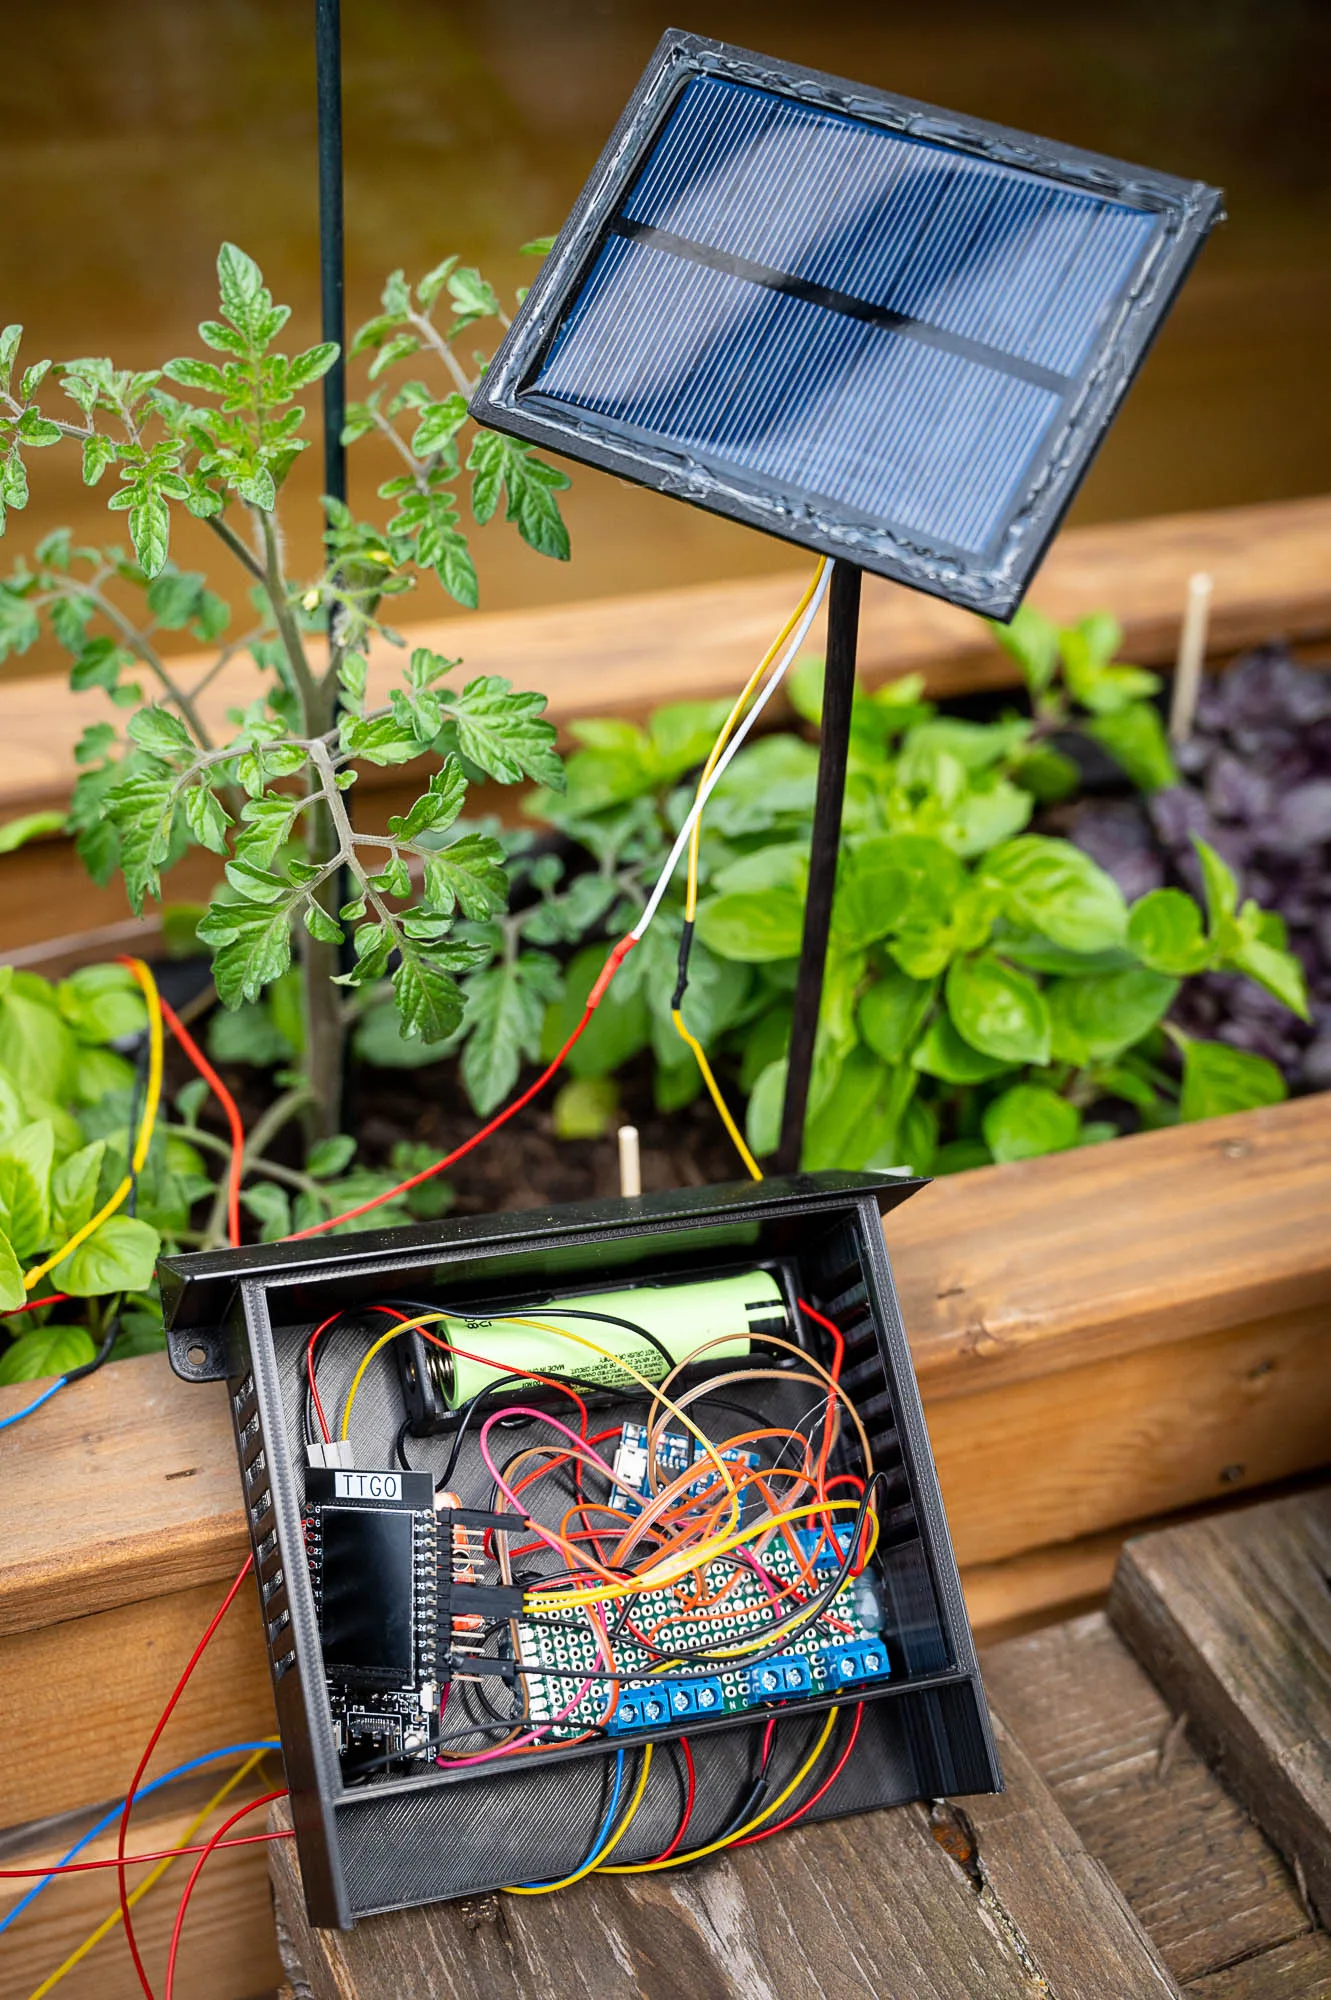
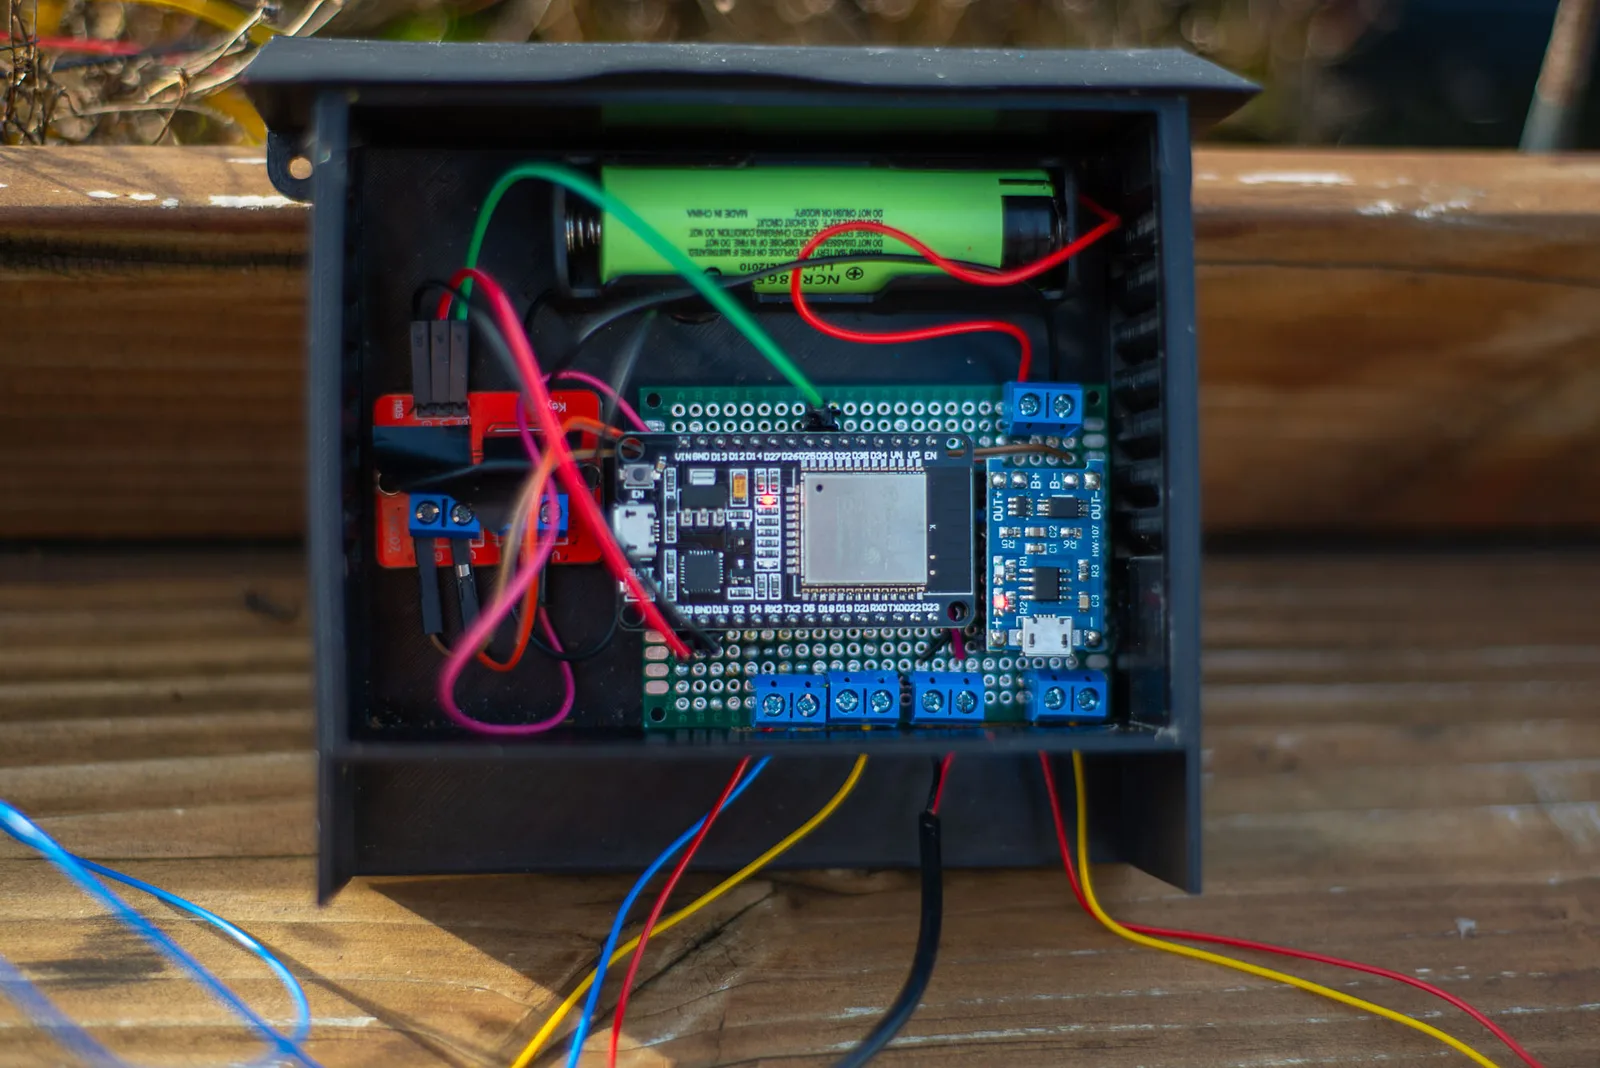
Photos: Lumics/Plantwatery
Key Facts
- Chip: ESP32
- Sensor: capacitive soil moisture
- Power: solar + battery
- Data: MQTT, OTA self-update
About This Project
Plantwatery is a self-contained garden watering node: an ESP32 wakes twice a day, reads a capacitive soil moisture sensor and runs a small pump if the soil is dry. A solar cell and battery keep it running, and status is published over MQTT. The waterproof housing is 3D printed and the firmware can self-update over the air. Clear parts list and good for beginners.
Source & Attribution
Parts Needed
- ESP32
- Capacitive soil moisture sensor
- Small 5V water pump + tubing, 6mm connectors and end stoppers
- IRF520N MOSFET board (or a relay) to switch the pump
- Solar cell + 18650/LiPo battery
- TP4056 charging board and TPS61023 5V boost converter
- Prototype board, screw terminals, hot glue for waterproofing
Steps
- 1
Build the control unit
Solder the ESP32, TP4056 charger, boost converter and MOSFET onto perfboard with screw terminals, following the wiring sketch in the README.
- 2
Waterproof the outdoor parts
Seal the solar cell connections and the moisture sensor's electronics with hot glue. Only the sensor's probe area should touch the soil.
- 3
Lay out the water line
Run tubing from the reservoir pump to the plants and plug the ends. Small holes along the tube let the water drip out.
- 4
Configure
In the Arduino sketch, set your Wi-Fi, MQTT broker, update server URL, watering duration and the moisture threshold for 'dry'.
- 5
Flash
Upload with the Arduino IDE (ESP32 core). Later versions update themselves over the air from your server.
- 6
Tips
Calibrate the sensor's dry and wet readings in your own soil. The author added the boost converter to keep the ESP32 stable as the battery voltage drops.
Not included: 3D-printed case, wire, solder, USB cable
Related Projects