PixelIt: pixel-art LED matrix display for ESP32
A WS2812B 8x32 matrix display that shows clock, pixel-art animations and smart-home notifications via MQTT or HTTP.

Photos
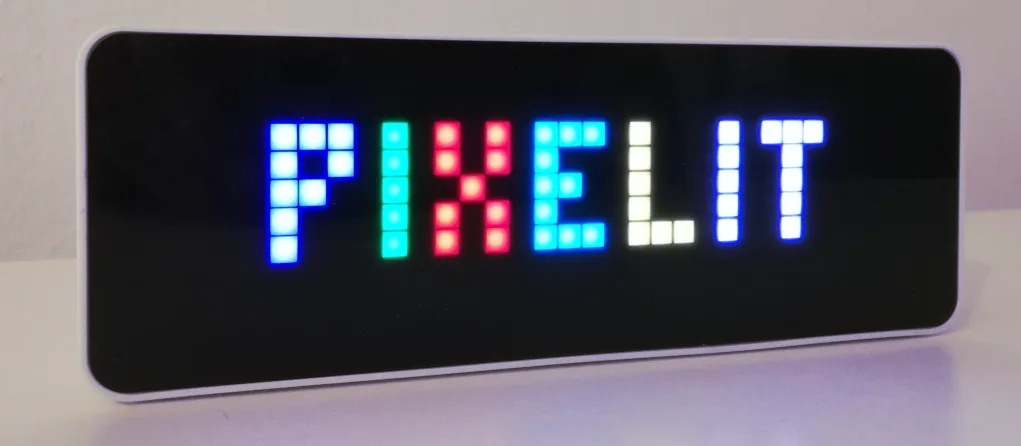

Photos: pixelit-project/PixelIt
Key Facts
- Chip: ESP32 / ESP8266
- Display: WS2812B 8x32 matrix
- Integration: MQTT, REST, Home Assistant, Node-RED
- Content: pixel-art gallery
About This Project
PixelIt turns an 8x32 WS2812B matrix and an ESP32 or ESP8266 into a pixel-art status display, similar in spirit to commercial Ulanzi/Awtrix clocks. It shows time, sensor data and pixel-art icons from a large community gallery, and receives content from Home Assistant, Node-RED or ioBroker via MQTT or a REST API. A popular weekend build.
Source & Attribution
Parts Needed
- ESP32 or ESP8266 board (or a prebuilt Ulanzi TC001)
- WS2812B 8x32 LED matrix
- 5V power supply
- Optional: BME280 or other sensors, DFPlayer Mini for sound
Steps
- 1
Wire the matrix
Connect the matrix's data in to the ESP's LED pin, power the matrix from 5V, and share GND. A Ulanzi TC001 needs no wiring.
- 2
Flash with the web flasher
Use PixelIt's web flasher in Chrome or Edge to install the firmware over USB. Developers can build with PlatformIO instead.
- 3
Join Wi-Fi
Connect to the PixelIt hotspot and enter your Wi-Fi details in the captive portal.
- 4
Configure in the WebUI
Open the device's IP to set the matrix layout, brightness and sensors, and to enable MQTT and Home Assistant discovery.
- 5
Send content
Push pixel art from the gallery, or send text and bitmaps through the REST or MQTT APIs from Home Assistant or Node-RED.
Not included: 3D-printed case, wire, solder, USB cable
Related Projects