Expanded ESP32-CAM webcam server
A friendlier, feature-rich version of Espressif's camera example for the $8 ESP32-CAM board.
Key Facts
- Chip: ESP32 (AI-Thinker ESP32-CAM)
- Camera: OV2640
- Stream: MJPEG over HTTP
- Framework: Arduino
About This Project
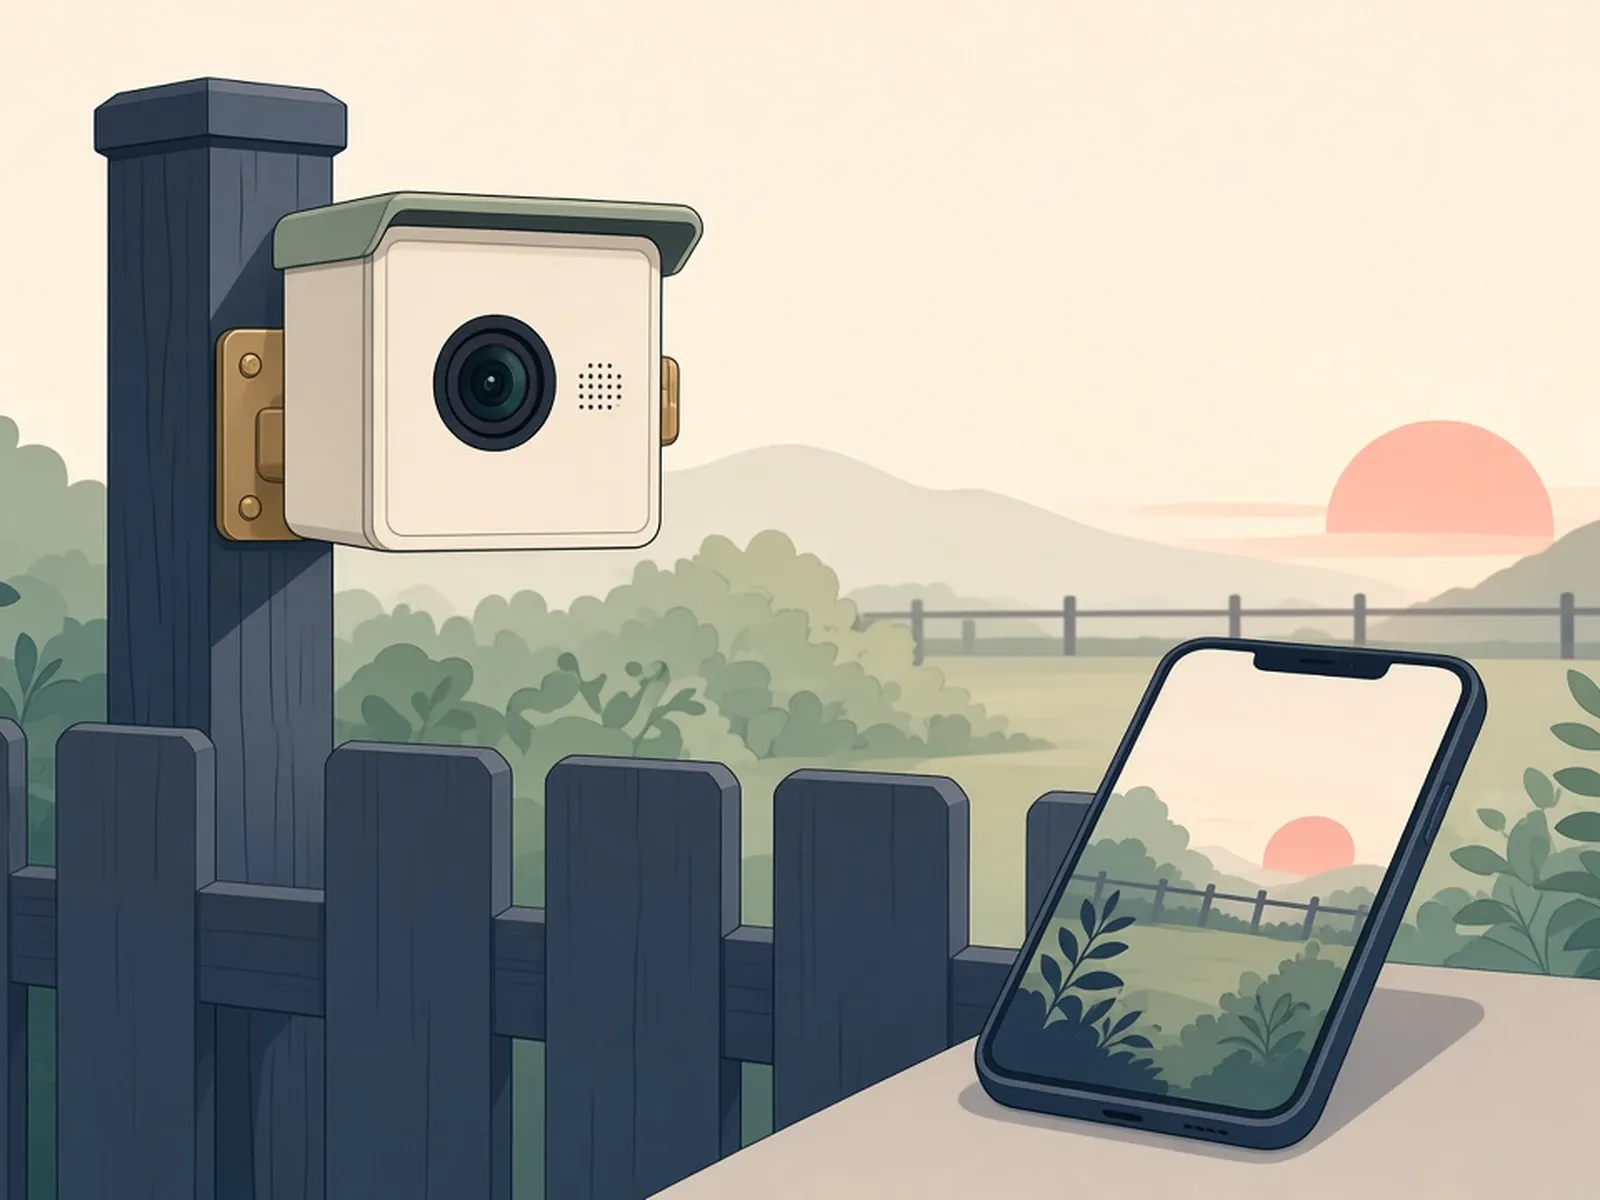
This project extends the stock Espressif CameraWebServer sketch for the AI-Thinker ESP32-CAM, adding a cleaner UI, saved settings, a standalone stream viewer, OTA updates, LED control and an embeddable stream endpoint. It is a practical base for DIY security cams, 3D-printer monitors and timelapse rigs, and the README covers common power and flashing pitfalls with these boards.
Source & Attribution
Parts Needed
- AI-Thinker ESP32-CAM with OV2640
- 3.3V USB-serial adapter (FTDI or CH340) or an ESP32-CAM-MB programmer
- Jumper wires
- Solid 5V supply
Steps
- 1
Set up the Arduino IDE
Install the latest stable Arduino IDE and Espressif ESP32 core. The author doesn't support development builds.
- 2
Wire for programming
Cross the adapter's TX and RX to the ESP32-CAM's RX and TX, supply 5V and GND, and hold GPIO0 to GND at power-up to enter flash mode. Use a 3.3V logic adapter, never a 5V one.
- 3
Get the sketch
Download the release zip, unpack it into your sketchbook folder and rename the folder so it matches the .ino name (drop the version number).
- 4
Configure
Copy the example network config to myconfig.h and enter your Wi-Fi details. The default camera pinout is AI-Thinker; select another if you have a different module.
- 5
Upload and run
Select the AI Thinker ESP32-CAM board and upload. Then remove the GPIO0 jumper, reset, and open the IP address shown in the serial monitor.
- 6
Tips
Avoid PlatformIO builds for now (the README notes the stream drops). Only one stream can run at a time. Most dropouts come from weak Wi-Fi or power, so keep the module close to the router.
| Part | Qty | Role | Est. Price | Buy |
|---|---|---|---|---|
| 1 | main board | $6–$12 | View | |
USB-serial adapter (FTDI/CH340) or ESP32-CAM-MB | 1 | programmer | — | — |
Not included: 3D-printed case, wire, solder, USB cable
Related Projects