ESPHome indoor air-quality monitor (CO2, PM2.5)
An ESPHome config for a DIY air-quality monitor measuring CO2, particulates, temperature, humidity and pressure.

Photos
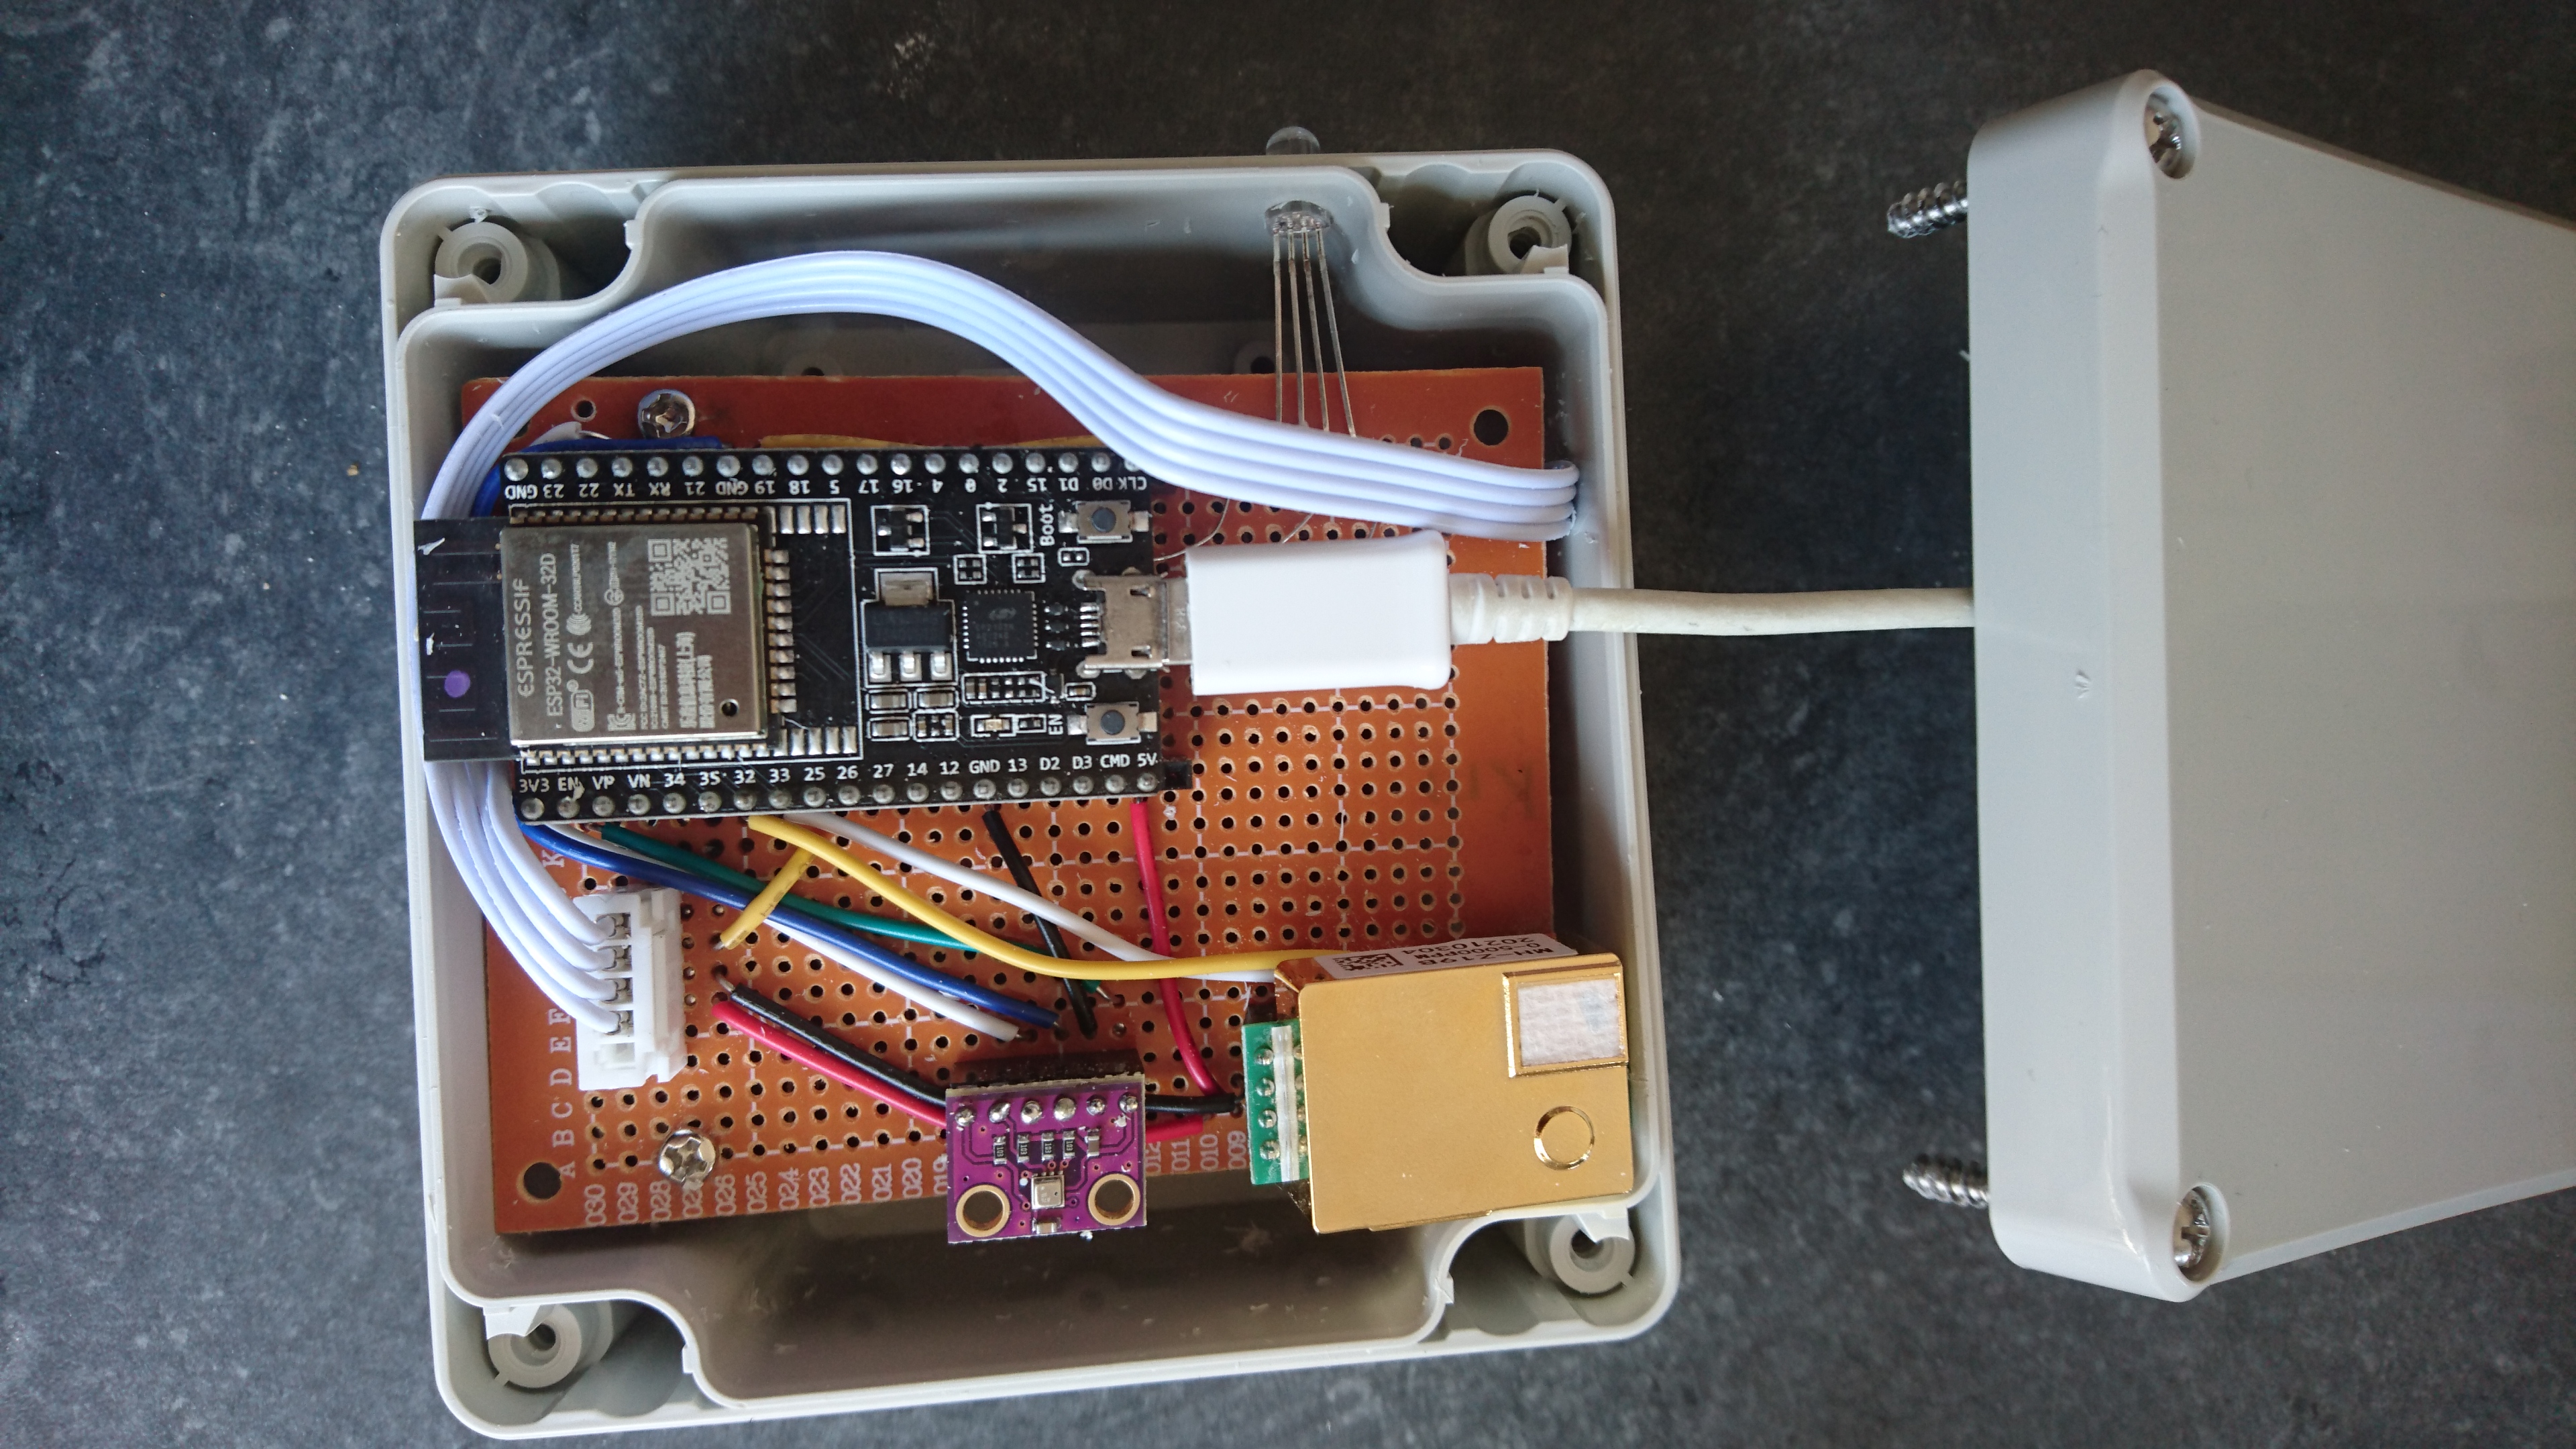
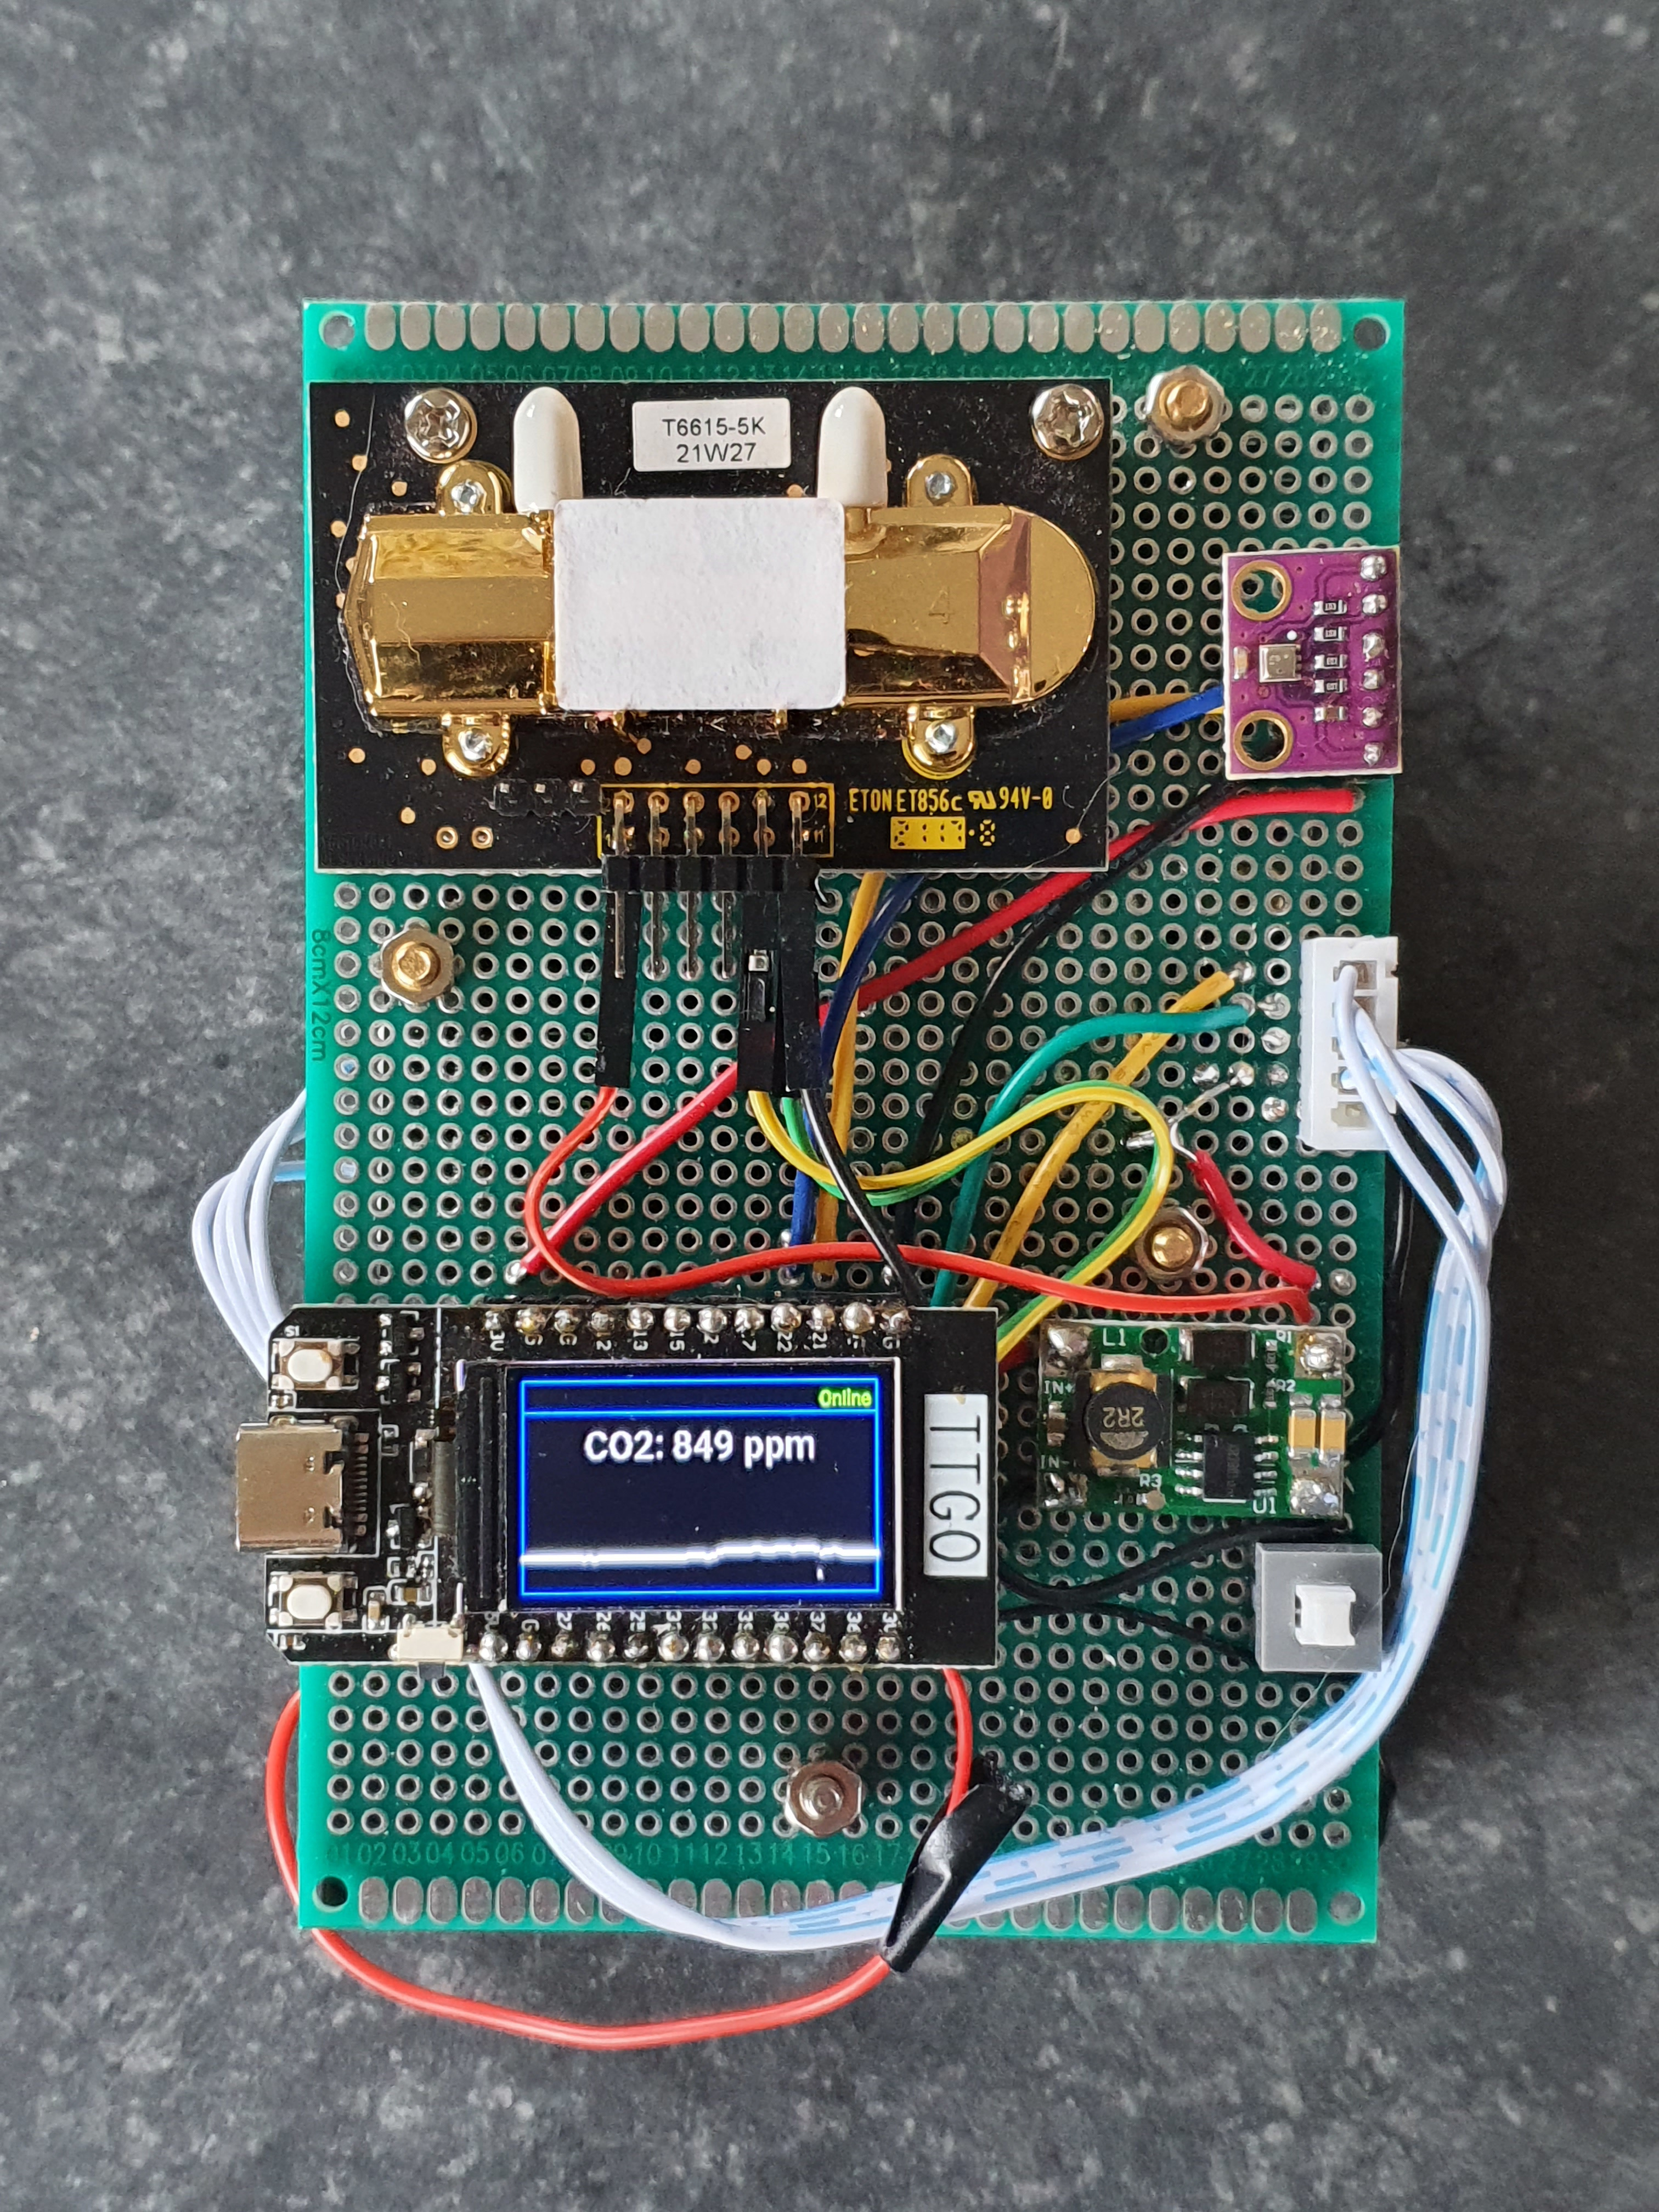
Photos: koenvervloesem.github.io
Key Facts
- Chip: ESP32
- Sensors: CO2, PM2.5/PM10, BME280
- Framework: ESPHome
- Feedback: RGB LED or display
About This Project
Koen Vervloesem's project provides a tested ESPHome configuration for an indoor air-quality monitor, built on a perfboard in a project box. It measures CO2 with a Senseair S8 or SCD-series sensor, PM2.5/PM10 with a PMS5003-type sensor, and climate with a BME280, then optionally shows status via an RGB LED or display. Everything reports into Home Assistant, and CI keeps the config building.
Source & Attribution
Parts Needed
- ESP32 (or ESP8266) board
- CO2 sensor: MH-Z19B or T6615 (or Senseair S8 per our BOM)
- Particulate sensor: Nova SDS011 (or PMS5003)
- BME280 breakout (3.3V version)
- Red/yellow/green LEDs or an RGB LED
- 5V boost converter if running from a battery; perfboard and project box
Steps
- 1
Wire it up
Follow the connection table in the README. On an ESP32: BME280 on I2C (GPIO21/22), the CO2 sensor's UART on GPIO35/32, the SDS011's UART on GPIO34/33, and the LEDs on spare GPIOs. Power the CO2 and dust sensors from a steady 5V.
- 2
Install ESPHome
Use the ESPHome add-on in Home Assistant or install the esphome CLI with pip.
- 3
Configure
Pick the YAML for your board from the repo and add a secrets.yaml with your Wi-Fi details (plus an API key or OTA password if you want them).
- 4
Flash
Run esphome run with your YAML file to compile and upload over USB. Later updates can go over Wi-Fi.
- 5
Add to Home Assistant
Home Assistant discovers the device. Add it, then build a dashboard or automations, for example opening a window when CO2 gets high.
- 6
Tips
CO2 sensors need a few minutes to warm up. The SDS011 has a limited lifespan, so the config reads it periodically rather than continuously.
Not included: 3D-printed case, wire, solder, USB cable
Related Projects