CircuitSetup 6-channel ESP32 home energy meter
An open-hardware ESP32 board that measures up to 6 circuits (expandable) with CT clamps, works with ESPHome and Home Assistant.
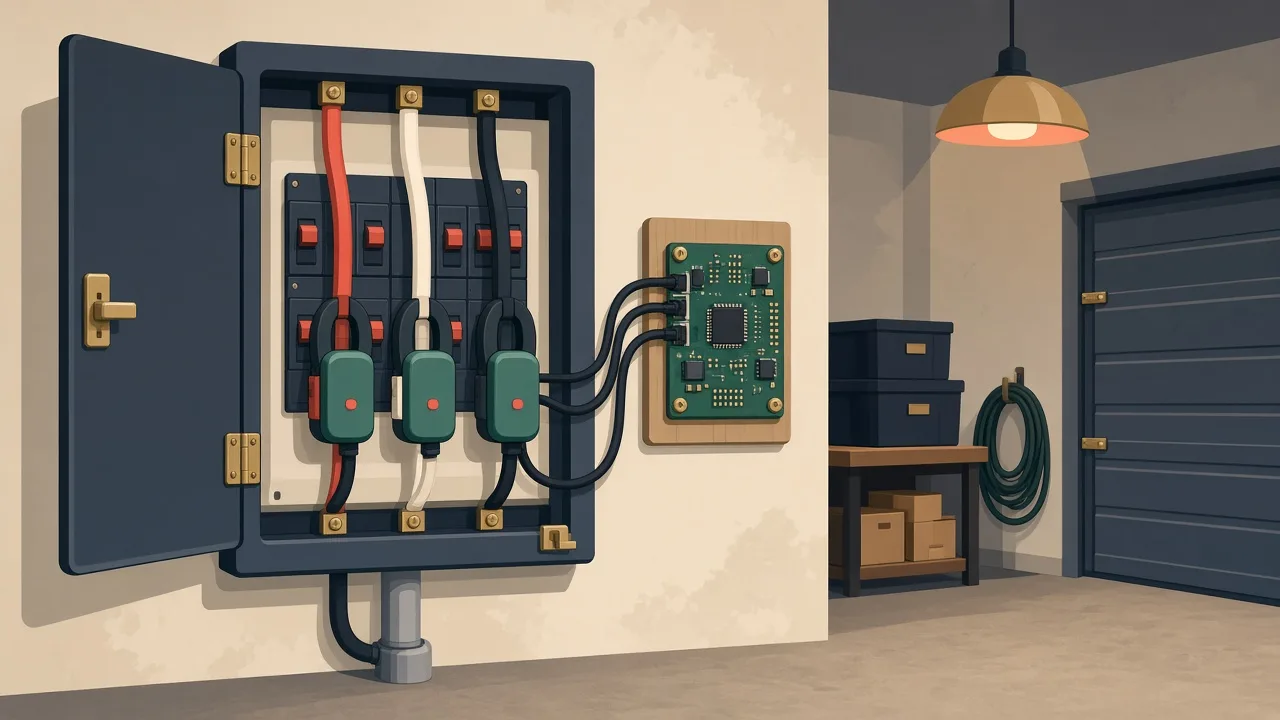
Photos
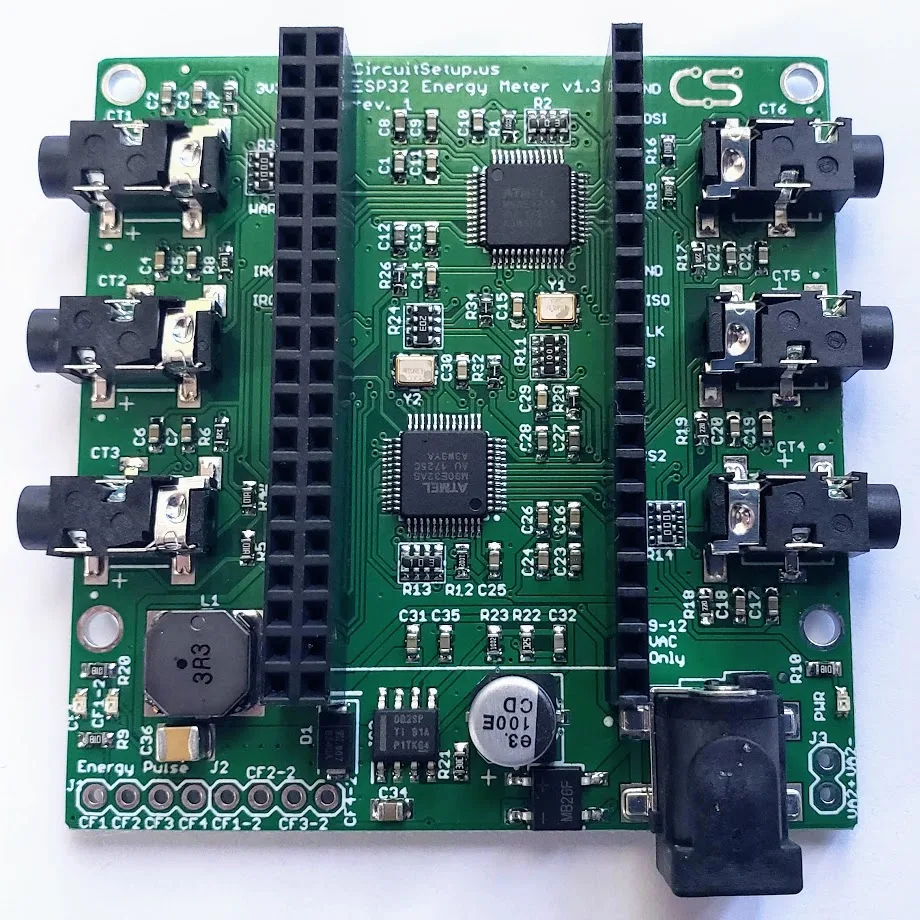
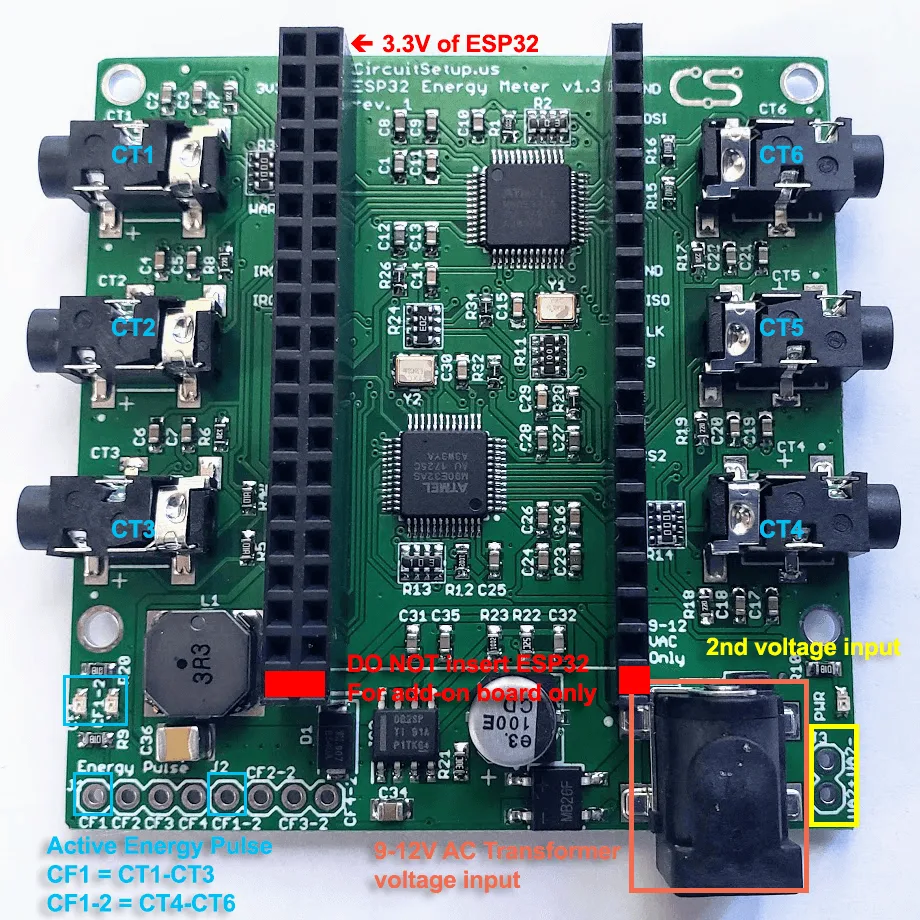
Photos: CircuitSetup/Expandable-6-Channel-ESP32-Energy-Meter
Key Facts
- Chip: ESP32
- Metering: ATM90E32
- Channels: 6, expandable
- Software: ESPHome, Home Assistant, EmonCMS
About This Project
This board from CircuitSetup uses ATM90E32 metering chips and an ESP32 to measure voltage, current and power on up to six circuits, with add-on boards for more. Readings feed into ESPHome, Home Assistant, EmonCMS or MQTT. Non-invasive CT clamps go around wires in your panel, but you are still working near mains, so an electrician-level understanding is assumed.
Source & Attribution
Parts Needed
- CircuitSetup 6-channel energy meter main board + a supported ESP32 dev board
- Split-core current transformers (one per circuit)
- 9V or 12V AC-AC transformer (voltage reference and power)
- Optional: add-on boards, Ethernet ESP32 (LilyGO or Waveshare)
Steps
- 1
Install the CTs
With help from an electrician if you need it, clip CTs around the circuits you want to measure in your panel and plug them into the board. Plug the AC-AC adapter into an outlet; never wire mains straight to the board.
- 2
Flash ESPHome
Open the CircuitSetup ESP Web Installer, select your board setup (number of add-ons, Wi-Fi or Ethernet type) and click Connect. Hold the IO0 button if the board won't enter the bootloader.
- 3
Provision Wi-Fi
Wi-Fi builds include a captive portal and Improv, so you can enter your Wi-Fi details from your phone or over serial.
- 4
Adopt into Home Assistant
Home Assistant discovers the device. Adopt it in the ESPHome Device Builder if you want to rename channels or edit its YAML.
- 5
Calibrate
Set the CT model and the voltage calibration values in the config so the readings match a reference meter, then add the sensors to the Energy dashboard.
Not included: 3D-printed case, wire, solder, USB cable
Related Projects